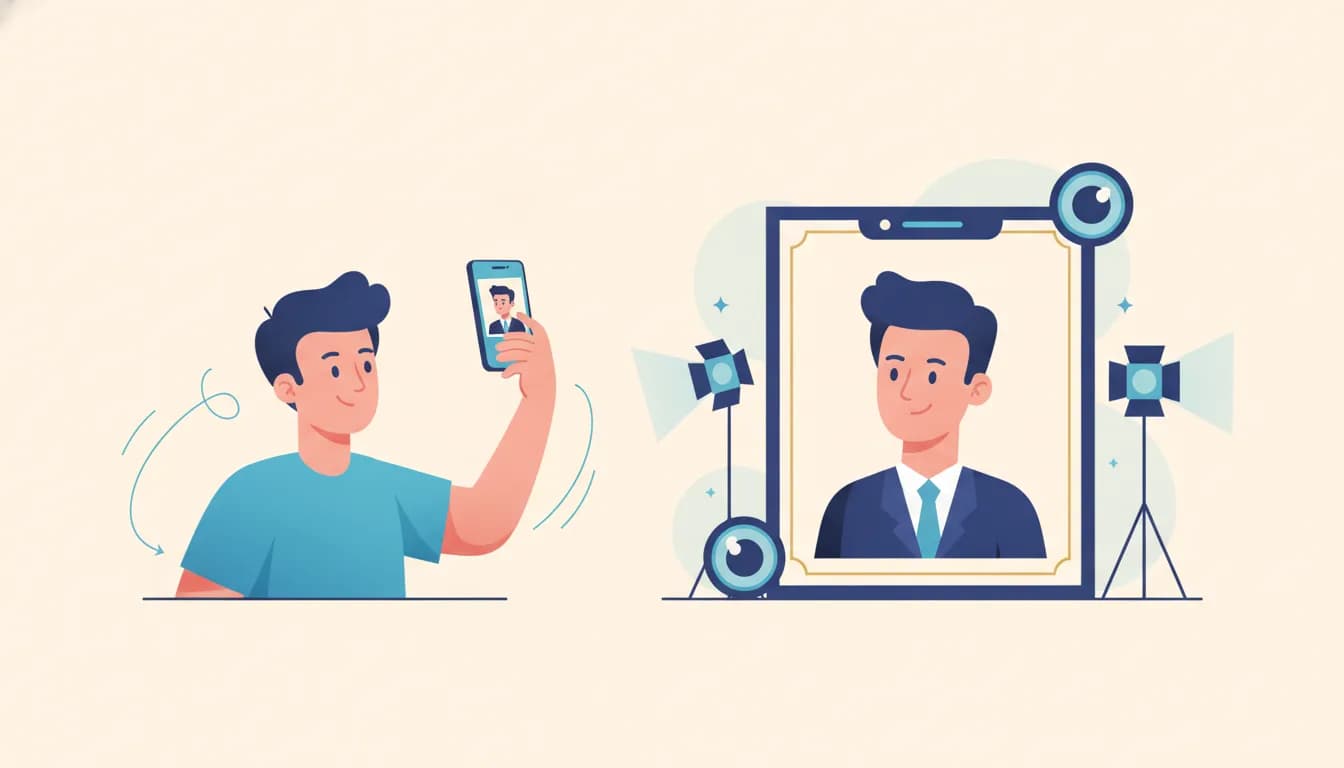
You need a professional photo more often than you think, LinkedIn, your resume, a Naukri profile, a company directory, a passport or visa form. Most people end up cropping a wedding photo or a group selfie, and it shows.
The good news: in 2026 you do not need a studio, a DSLR, or a photographer. You need one decent selfie and about a minute. This guide covers what actually makes a photo look professional, the three ways to get one, how to shoot the source selfie correctly, and the exact spec for each place you will upload it.
What makes a photo look "professional"? A quick checklist
"Professional" is not a filter or a suit. It is five things working together. Run any photo you are about to upload through this list, if it fails two or more, it will look amateur no matter how good you look in it.
- Lighting: soft, even light on your face, coming from the front. No harsh shadow across one cheek, no glare on the forehead, no dark eye sockets from an overhead tubelight.
- Background: plain and uncluttered, a light grey, white, or soft neutral wall. No bedsheets, no cupboards, no doorways, no other people, no bike parked behind you.
- Framing: head and shoulders (chest-up), face roughly centred, a little space above your head. Your face should occupy a good share of the frame, not a tiny head in the corner of a landscape shot.
- Expression: relaxed, eyes on the camera, a light closed-mouth or gentle smile. Approachable, not a police-record stare and not a party laugh.
- Attire: clean, solid-coloured, collared or otherwise appropriate to your industry. No busy prints, no logos, no sleeveless vests, no crumpled collars.
Two more matter quietly: sharpness and resolution. Upload a small, soft file and every platform will make it look worse, not better.
The three ways to get a professional photo
There are exactly three routes, and the right one depends on how much time and money you want to spend.
| Method | Cost | Time | Quality | Effort | Best for |
|---|---|---|---|---|---|
| Photo studio | Paid, varies a lot by city and studio | Days: booking, travel, shoot, retouch turnaround | Highest, if the photographer is good | High, you have to schedule it and show up | Senior leadership pages, company website team photos, actor/model portfolios |
| DIY with a phone | Free | 15–30 minutes, if you have good light and a helper | Good, but depends entirely on your room and window | Medium, you need a second person or a tripod, plus a clean wall | People with a bright room, a plain wall, and patience |
| AI photo generator | Free on GoodSpace, no signup, no watermark | About 30 seconds from a selfie | Clean, consistent, correctly cropped for each platform | Lowest, upload one selfie, download the result | LinkedIn, resume, Naukri, job applications, document photos, the everyday cases |
For most job seekers and working professionals, the third option is the practical one. You can make a professional photo free with the GoodSpace AI Headshot Generatorupload one selfie and get back a properly lit, plain-background, correctly framed photo you can use straight away.
How to shoot the source selfie properly
This is the step most people skip, and it is the one that decides your result. Whether you are editing the photo yourself or feeding it to an AI professional photo maker, garbage in means garbage out. Spend two minutes here.
- Use the rear camera, not the front one. It has the better sensor and lens on almost every phone. Prop the phone up or ask someone to click. If you must use the front camera, at least turn off beauty mode.
- Face a window. Stand facing a window during the day so the light hits your face directly. Never stand with the window behind you, that turns you into a silhouette. No good window? Face a bright lamp; avoid a single overhead tubelight, which digs shadows under the eyes.
- Keep the camera at eye level. Not below (you get a chin-up angle), not above (you get a shrunken forehead-heavy angle). Eye level, roughly an arm's length away.
- Frame chest-up. Include your head and the top of your shoulders and chest. Do not crop the top of your head off, and do not shoot a full-body photo hoping to crop later, cropping in destroys resolution.
- Stand in front of a plain wall. A metre or so away from the wall, so you do not cast a hard shadow onto it. Light-coloured and unpatterned is ideal.
- No filters, no hats, no sunglasses. Also skip heavy edits, Snapchat-style smoothing, tinted glasses, masks, and anything that covers your hairline, ears, or eyes. If you wear prescription glasses daily, keep them on, but tilt them slightly so the lenses do not catch a reflection.
- Look at the lens and relax your jaw. Shoulders back, chin very slightly forward and down. Take five or six shots and pick the one where your eyes look most awake.
Get these right and you have a usable source photo. It will still look like a selfie, that is fine, that is what the next step is for.
How to turn a selfie into a professional photo, free
Here is the whole flow using the GoodSpace AI Headshot Generator:
- Step 1, Open the tool. Go to the GoodSpace AI Headshot Generator. There is no signup wall and no credit card.
- Step 2, Upload your selfie. Use the shot from the section above. One clear, well-lit, chest-up photo is enough.
- Step 3, Wait about 30 seconds. The AI cleans up the lighting, replaces the background with a neutral studio backdrop, and reframes you to a proper headshot crop.
- Step 4, Pick your format. Choose the output you need, a square LinkedIn crop, a resume photo, or a document/passport-style photo.
- Step 5, Download and check. The file comes out without a watermark. Before uploading it anywhere, view it at full size and confirm your face is sharp, your eyes are clear, and nothing looks distorted around the hair or glasses.
If you want the longer walkthrough with examples of good and bad inputs, read the GoodSpace headshot generator guide.
Where you will use it, and the right spec for each
One photo, several destinations, and each one wants a slightly different shape. Get the crop wrong and the platform will squash or auto-crop it, usually right across your chin.
| Where | Shape | What to keep in mind |
|---|---|---|
| LinkedIn profile photo | Square, 1:1, 400 × 400 px minimum | LinkedIn displays it as a circle, so keep your head centred with breathing room on all sides or the crop will clip your hair and shoulders. Full breakdown in our LinkedIn profile photo size guide for 2026. |
| Resume photo | Portrait, roughly passport proportions (taller than wide) | No official standard exists, the Indian convention is a small passport-style photo in the top corner. Keep it modest so it does not push your content down a page. |
| Naukri and job portal profiles | Square or near-square, 1:1 | Portals show your photo as a small thumbnail next to your name in recruiter search results. Tight chest-up framing reads far better at thumbnail size than a distant shot. Upload JPG or PNG and stay under the size limit shown on the upload screen. |
| Passport, visa and document photos | 35 × 45 mm in India; plain white or light background | These have strict rules, neutral expression, both ears and full face visible, no shadow on the background. See the passport size photo dimensions guide for India and the passport size photo tool guide for the conversions in mm, cm, inches and pixels. |
What to wear, by industry
Dress one notch above what you would wear on a normal working day at the kind of company you want to join.
IT and engineering
A plain collared shirt in a solid colour, light blue, white, grey, or a muted dark shade. A crew-neck tee under a plain jacket also works for product and startup roles. Skip the company-branded hoodie and the conference T-shirt.
Sales, BFSI, consulting and law
The most formal end. A crisp white or light shirt, ideally with a blazer. Ties are optional in 2026 but never wrong here. Keep colours conservative: navy, charcoal, black, white. A plain kurta or a formal shirt-and-blazer combination in a solid colour reads equally well.
Creative, design, marketing and media
Room for personality, a solid colour with character, a textured jacket, a simple neckline. Still avoid loud prints and stripes, which shimmer badly at thumbnail size.
Universal rules: solid colours beat patterns, matte fabrics beat shiny ones, and your top should contrast with the background so you do not blend into it. Wearing a white shirt against a white wall makes you look like a floating head.
Common mistakes that make a photo look unprofessional
- A cropped group photo. Someone else's shoulder or arm is almost always still in frame, and the resolution is destroyed.
- Sunglasses, caps, or a mask. Recruiters want to see your face. Document photos reject these outright.
- Heavy filters and beauty smoothing. It reads as fake instantly and looks nothing like you at the interview.
- A busy background. Your kitchen, a car interior, a tourist spot, a curtain with a pattern.
- Low resolution. A WhatsApp-forwarded copy has already been compressed twice. Start from the original file in your gallery.
- Wrong crop. Uploading a rectangle where a square is expected, so the platform slices off your chin or forehead.
- An outdated photo. It should look like the person who walks into the interview.
- Extreme angles. The chin-up low angle and the overhead arm's-length selfie both read as casual.
An India note: resume photos are normal here
American and British career advice carries a firm rule: never put a photo on your resume. That advice exists because of hiring-discrimination law and screening conventions in those markets.
India is different. Photos on resumes are common and widely expected, especially for fresher roles, campus placements, sales and front-office positions, and anything customer-facing. Indian job portals build the photo into the profile itself, and recruiters see your picture next to your name in search results before they open your profile.
So: applying within India, include a clean professional photo. Applying to the US, UK, Canada, or Australia, leave it off the resume document, but keep a strong photo on LinkedIn, because that is where those recruiters will look you up anyway.
Make yours now
Take one clear selfie by a window with your rear camera, then run it through the GoodSpace AI Headshot Generatorfree, no signup, no watermark, about 30 seconds, ready for LinkedIn, your resume, Naukri, or a document form.
Frequently asked questions
Is the GoodSpace professional photo maker really free?
Yes. The AI Headshot Generator is free to use and does not require an account or a credit card.
Will there be a watermark on my photo?
No. Downloads come without a watermark, so you can upload the photo directly to LinkedIn, a job portal, or a resume.
Can I use a normal selfie as the input?
Yes, that is exactly what it is built for. A single clear, well-lit, chest-up selfie is enough. Use the rear camera, face a window, and avoid filters, hats, and sunglasses for the best result.
How long does it take?
About 30 seconds from upload to download. Shooting a good source selfie takes another couple of minutes, so the whole job is under five minutes.
Can I use the same photo for LinkedIn, my resume, and a passport form?
You can use the same source photo, but you should export a different crop for each. LinkedIn needs a 1:1 square of at least 400 × 400 px, a resume photo is usually a small portrait crop, and Indian document photos need to be 35 × 45 mm with a plain background and a neutral expression.
Do AI-generated professional photos still look like me?
They should. The AI adjusts lighting, background and framing, not your face. Still, check the download at full size, and retake the source selfie if anything looks off around the hair, ears, or glasses.
Should I put a photo on my resume in India?
Generally yes for roles based in India, where it is a normal convention. For applications to the US, UK, Canada, or Australia, leave it off the resume document and keep the photo on your LinkedIn profile instead.